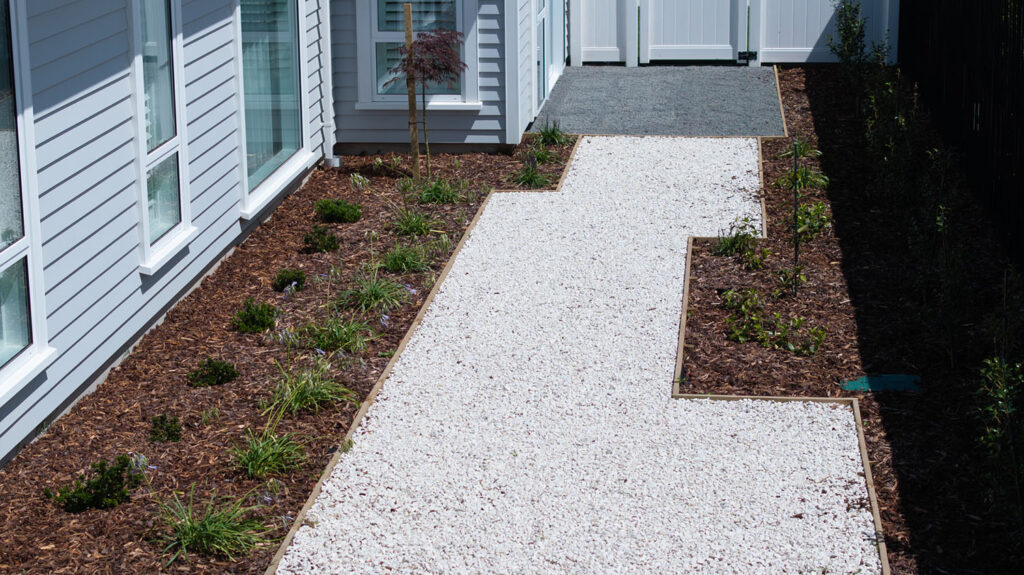
Thinking about giving your garden a new walkway, refreshing your current path, or upgrading an older driveway? Many Australian homeowners are exploring outdoor paving options that perform well and look great, especially in a climate that swings between sudden storms and long dry spells. You might be creating a pathway to protect garden beds, designing a driveway that feels more inviting, or simply searching for an alternative to solid concrete surfaces. A permeable paver pathway is a brilliant solution that delivers style, practicality, and sustainability.
Permeable paving allows rainfall to naturally soak into the soil below. This reduces pooling, slows runoff, prevents erosion, and supports healthier planting zones, while in hot summers, natural stone reduces what’s known as the heat island effect. Natural Paving offers permeable paving panels suited to Australian conditions, making it easy for DIYers, landscapers, and garden enthusiasts to create attractive natural stone paving that benefits both the landscape and the environment.
This guide takes you through each stage of installing your own permeable pathway, helping you approach the project with confidence from start to finish.
1. Designing a Pathway That Works with Your Landscape
Before any groundwork begins, spend time planning the layout of your new path or driveway. A clear design will help you achieve a look you love while ensuring the pathway handles water effectively throughout the year. Consider how the path will move through the space. A sweeping curve, a clean straight line, or a branching layout can all work beautifully, and Natural Paving pavers can be cut to suit almost any shape.
Water flow is particularly important in Australian gardens. Permeable pathways work by encouraging water to drain through the surface, but you should also think about where excess water will travel during extremely heavy rain. Directing flow toward garden beds, lawn areas, or a planned drainage coil can prevent issues later.
You may also want to consider the pathway width, how the area will be used, what plants or features will surround it, and whether you want lighting or edging to enhance the look. A thoughtful design stage sets a strong foundation for a practical and sustainable build.
2. Creating a Strong, Permeable Base Layer
The strength and performance of your permeable pathway depend heavily on what goes underneath. While the pavers evenly distribute weight, a properly prepared base ensures the surface stays level, drains effectively, and withstands regular use.
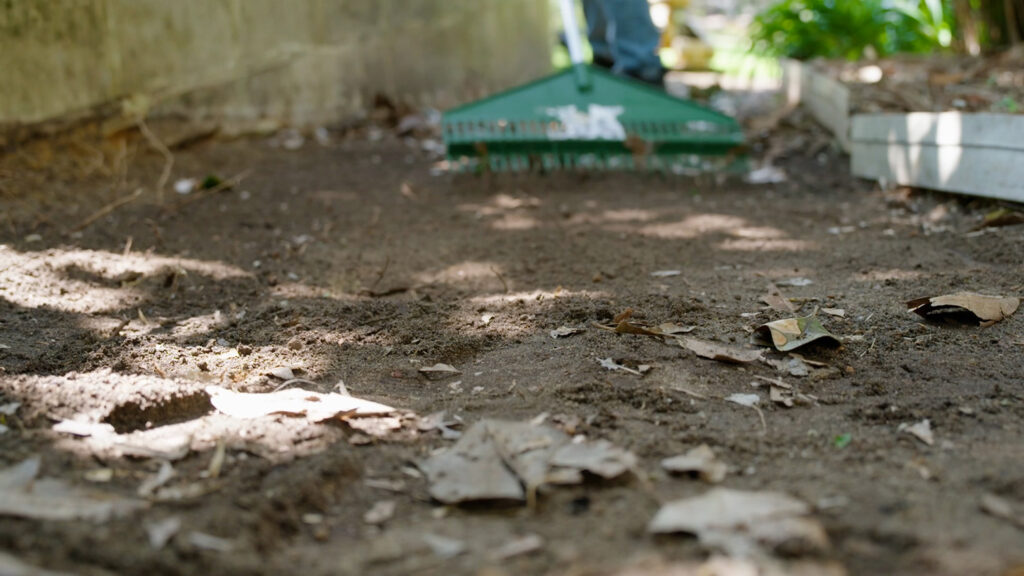
Excavate the area to the required depth. For footpaths or patios, around 50 mm of basecourse is usually enough. For driveways that will support SUVs or occasional light trucks, increase the basecourse depth by at least 100mm. Remove organic matter, roots, debris, and anything that may compromise stability.
If the soil beneath is not very absorbent, shape the sub-grade slightly so water can move toward a drainage coil wrapped in filter fabric. Trenches may need to be included if the coil connects directly into a stormwater drain or a dedicated soakaway. This helps manage the intense downpours that are common in many parts of Australia.
Place SureTex geotextile over the sub-grade to improve drainage and stop soil mixing into the basecourse. Spread no- fines basecourse layer on top and compact it thoroughly with a plate compactor. This gives you a strong yet permeable base that supports both water movement and long-term durability.
3. Selecting the Right Paver Colour for Your Space

Natural Paving pavers come in two colours, each offering a different visual effect for your outdoor area.
Cream is ideal if you prefer a softer, more welcoming aesthetic. It pairs nicely with timber, native planting, and cottage-inspired garden designs. Black, on the other hand, suits contemporary architecture and creates a bold contrast that looks striking in modern landscapes.
Although your stone topping will cover most of the paver surface, small glimpses of colour peeking through can elevate the look of your path or driveway. Choosing the right colour helps tie your entire outdoor design together.
4. Installing the Pavers and Adding Supportive Edging
Edging is an essential part of any permeable pathway. It helps keep stones in place, supports the paver structure, and forms a neat, manageable boundary. Strol offers edging solutions suited to Australian gardens, including low-profile PaveMaster, structured Link Edge, and Rustique Corten Steel Edging, which develops a naturally aged finish.
After installing your chosen edging, add a bedding layer. Spread around 25 mm of bedding sand over the compacted base. Screed it to shape and lightly compact it.
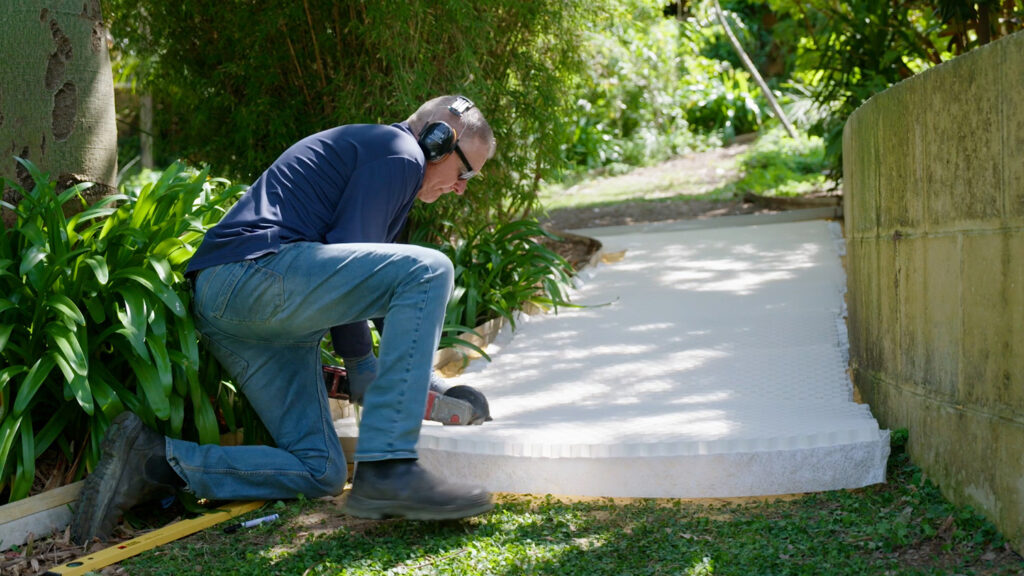
Then lay the Natural Paving mats. These pavers include a geotextile base that holds stones securely and reduces weed growth. Each mat has overlapping sections that allow the next sheet to sit neatly on top, making installation simple and efficient. Leave a gap of approximately 30 mm between the honeycomb edges so stones can settle smoothly into the joints.
The mats can be cut with a handsaw or circular saw to fit curves or tight spaces. Offcuts can be reused, minimising waste and making the installation more efficient.
5. Filling Your Pavers with Pebbles or Gravel
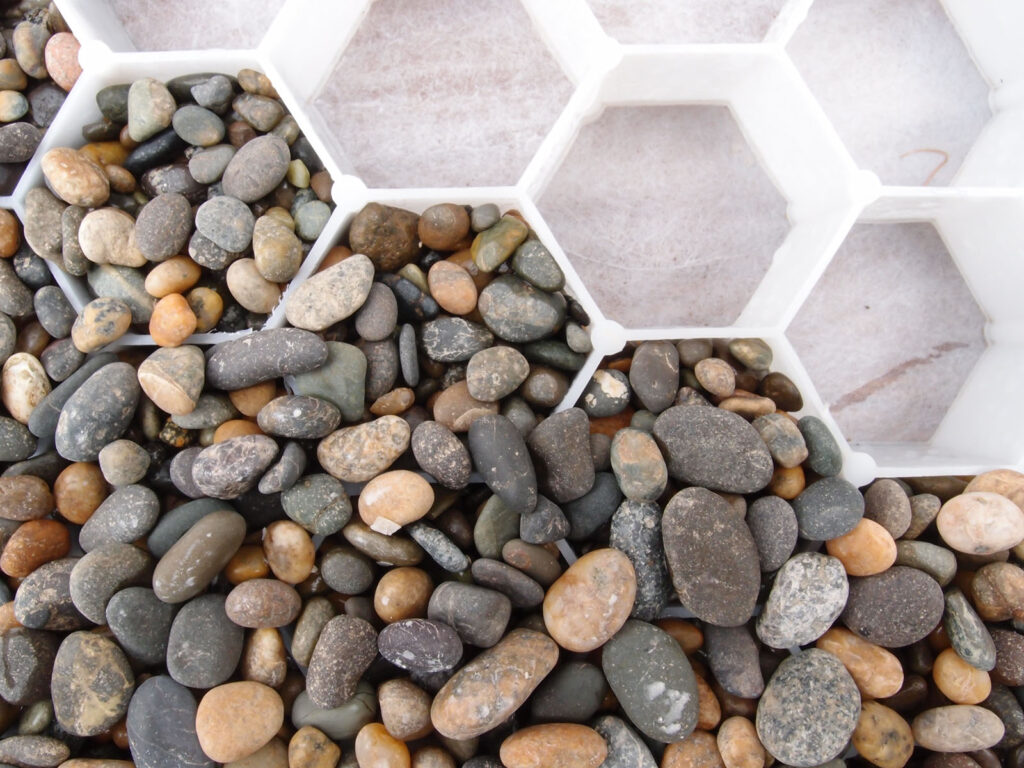
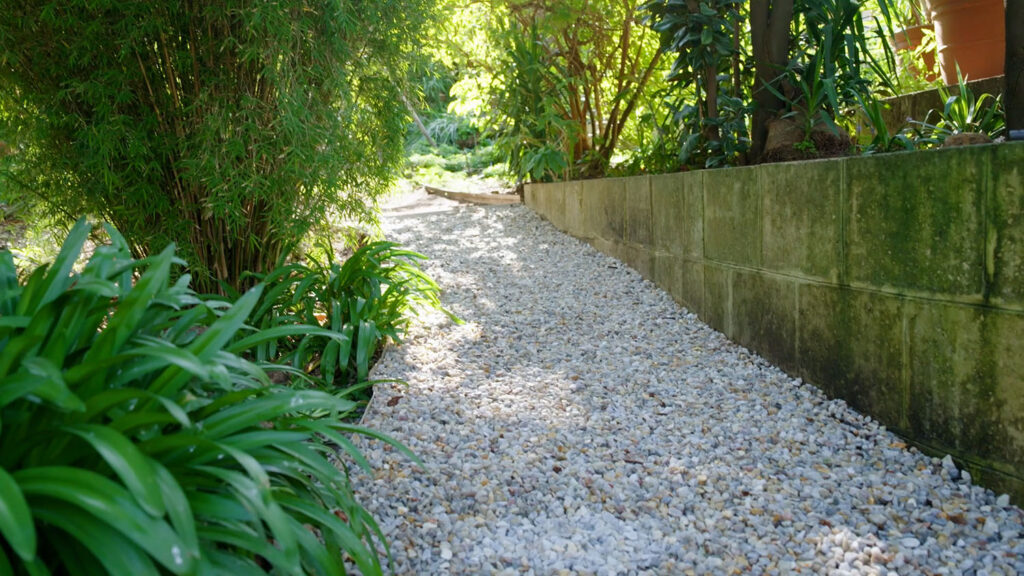
Once the mats are down, you can begin filling them with your chosen stone. Smooth pebbles or angular gravel between 3 and 16mm work best and allow water to pass through easily. You can opt for a single colour for a unified look or mix tones to define different spaces.
Spread the stones evenly using a stiff brush or rake. Fill the pavers around 20 mm above the top of the honeycomb. Over time, the stones will settle naturally, leaving a clean layer about 10 to 15 mm above the pavers. This provides UV protection and maintains the polished appearance of your outdoor area.
Choosing different stone colours can dramatically influence the atmosphere of the space. Pale tones brighten dark corners, while deeper colours create a sleek, modern feel. Two-tone pathways can also be used to define walk zones or guide traffic through your garden.
6. Bringing It All Together with Final Touches
Your pathway is nearly complete. You can compact the stones to help them bed in faster or simply let foot or vehicle traffic settle them over time. Any loose stones can be swept back into place whenever needed.
Finish the area with details that complement your landscape. Native shrubs, warm lighting, or well-placed mulch can help enhance the visual appeal and make the pathway feel fully integrated with the rest of your outdoor space.
Permeable paving is one of the most environmentally considerate paving options available. It supports sustainable landscaping practices by allowing water to filter naturally into the soil instead of running rapidly across hard surfaces. This reduces erosion, prevents pooling, and eases pressure on stormwater networks during intense Australian rainfall.
The combination of geotextile, drainage coils, and a permeable base promotes healthy soil conditions and protects nearby plant life. Additionally, permeable paving absorbs less heat than solid surfaces like concrete or asphalt, helping to keep outdoor areas cooler during Australia’s hotter months.
When you choose Natural Paving, you are creating a pathway that is both beautiful and environmentally responsible. It is an excellent option for Australian homeowners wanting garden path ideas that combine sustainability with long-lasting style.